Drawing from life
Drawing from life is a great skill in seeing the bigger picture. You need to look at details and pay attention to how things relate to each other. For this project we will be choosing an object from the still life supply shelf to draw. Your drawing will be a super-sized version of the object. Then we will use pencils or colored pencils to shade it in.
This lesson was borrowed from Monica Aissa Martinez.
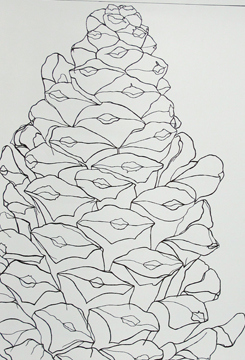
The objects below are examples of pine cones, flowers, and vegetables. Notice that some lines are thick and some lines are thin.
This lesson was borrowed from Monica Aissa Martinez.
The objects below are examples of pine cones, flowers, and vegetables. Notice that some lines are thick and some lines are thin.
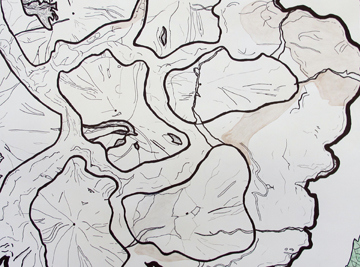
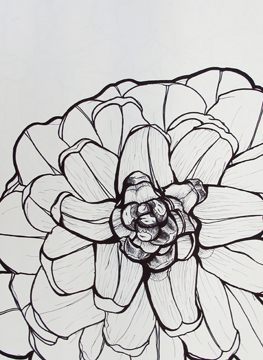
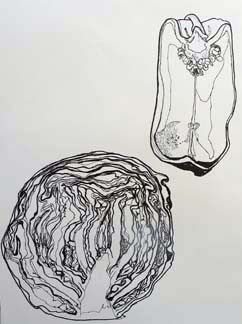
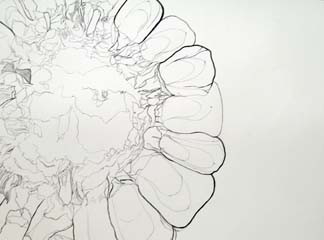


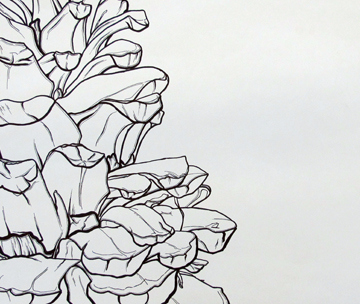
First, let's talk about line. A line is an element of art which refers to the continuous mark made on some surface by a moving point. The focus in this assignment is the contour line, both inner and outer contour. Contour means outline, and presents exterior edges of objects. A plain contour has a clean, connected line, no shading and emphasizes an open shell of the subject.
No two objects in nature are exactly the same. Just like people. That’s what looking closely and drawing carefully teaches the beginning drawing student. Every object in nature is unique. Drawing students learn to look closely at what they perceive as something ordinary, and slowly they learn it’s in fact quite extraordinary
No two objects in nature are exactly the same. Just like people. That’s what looking closely and drawing carefully teaches the beginning drawing student. Every object in nature is unique. Drawing students learn to look closely at what they perceive as something ordinary, and slowly they learn it’s in fact quite extraordinary
Check out this video on how to draw contour lines
Check out this video on line thickness
This video is really long. You don't have to watch the entire video, but at least the first 2 minutes to get an idea of how line thickness affects your drawings.
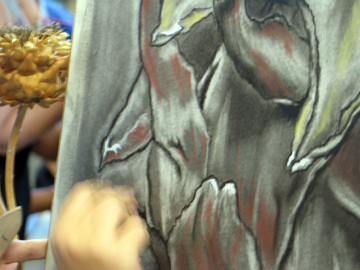
Check out this video on shading techniques
Another great video on shading.
let's get started
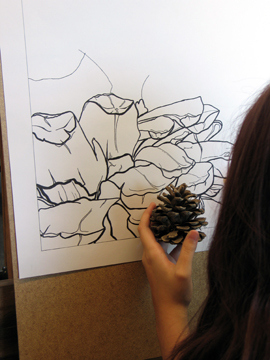
First, you will need to choose an object that you are going to draw. The examples above are of pine cones. You may chose an object from nature, or you may chose another object (it must be school appropriate).
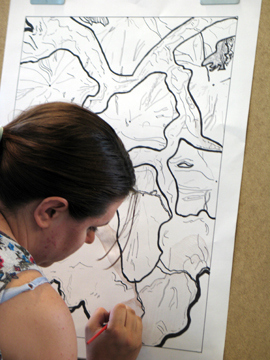
Use the skills you learned from the Drawing on the Right Side of the Brain exercises to look closely at your object. Set it up at an interesting angle so it makes an interesting drawing. Your object will also need to be drawn larger than the paper, so that means that it needs to go off at least 3 sides of the page. Complete a sketch of your object and how it will look on your page before you start your final drawing.
Once your sketch is approved you may begin your final drawing. Use the large drawing paper for this drawing. You may use graphite pencils, colored pencils, pastels, or drawing inks. It's up to you. Make sure you are comfortable with the medium you choose before you begin.
Take your time and try to draw the object with as much detail as possible, and try to be accurate. Ask for help along the way as needed.
